Ever wonder what that curved pipe is underneath your sink?
Today we’re going to boost your plumbing knowledge and put a new skill into your DIY arsenal.
Understanding the drain trap is a good step that will serve you well for diagnosing those strange odors coming up, fixing nagging leaks, or fighting stubborn clogs.
What is the drain trap?
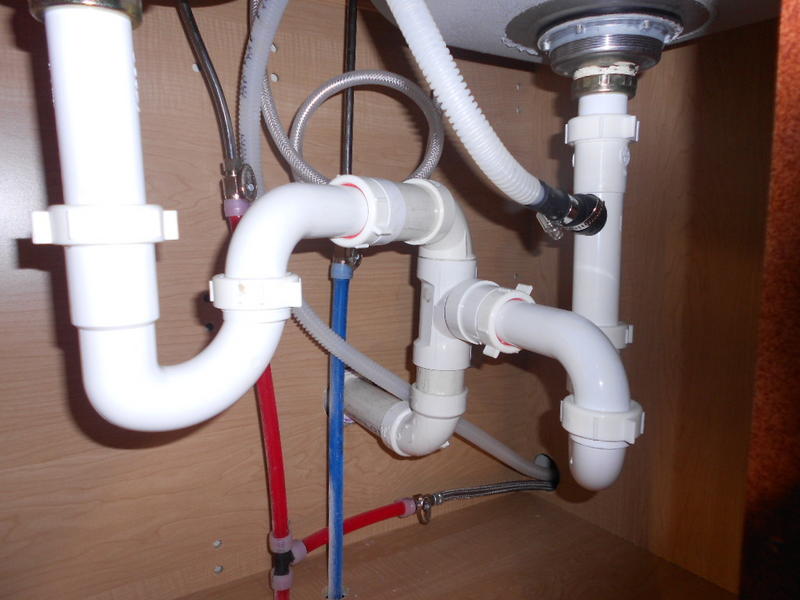
The drain trap is a P-, S-, or U-shaped pipe that you see underneath your bathroom or kitchen sink. These are designed to create a barrier between the sewage system and your home.
The reason they are angled is to allow them always to hold a small amount of water so that when the sink drains, it creates a “trap” seal. This prevents unwanted sewer gasses – like Methane, Hydrogen Sulfide, Nitrogen, and Carbon Monoxide – from coming up into your home through the fixture.
These types of traps are also built into toilets — the same purpose.
Larger drains, for instance, your shower or washing machine, have them as well, but they are generally hidden underneath the flooring, or behind a wall, so they are not as visible as those underneath your bathroom or kitchen sink.
Strange Odors in the Sink?
If a drain has not been used for a while, it is possible that the water “seal” can dry up and leave a pathway for odors to come into the house. That’s why it’s a good idea to run those sinks or fixtures that may not be heavily used daily.
Sometimes after a long vacation, you might notice these odors that have built up while you were gone. Generally, you can “re-seal” the trap by running water in the sink and flushing it out. If everything is functioning correctly, the water should resettle at the bottom of the “U” and re-seal the drain.
Tough Clog?
Sometimes you can develop a clog and will want to check the drain trap. If that’s the case, it’s a relatively straightforward process, but you’ll need to be sure to do a few things before you dive into this project:
- Clear the area underneath the sink
- Shut off the water valve underneath the sink
- Get a bucket that will fit underneath the pipe before you remove anything.
- Although it looks pretty simple – especially with a U-shaped trap – it’s maybe a good idea to take a quick picture for reference or make a note to make sure you put it back correctly.
- Unscrew the locks nuts (you may be able to do this by hand but have a plumbing wrench handy in case their tight)
- With the lock nuts loosed, the trap should slide off.
- Once it is off, take it to another sink and rinse it out or clear any debris you find inside.
- Then place the trap back in place, slide it up, and tighten the locknuts.
- Turn on the water again and flush the sink to make sure everything is sealed correctly and in working condition.
Have a stubborn drain that needs clearing? The experts at Agentis are ready to help.