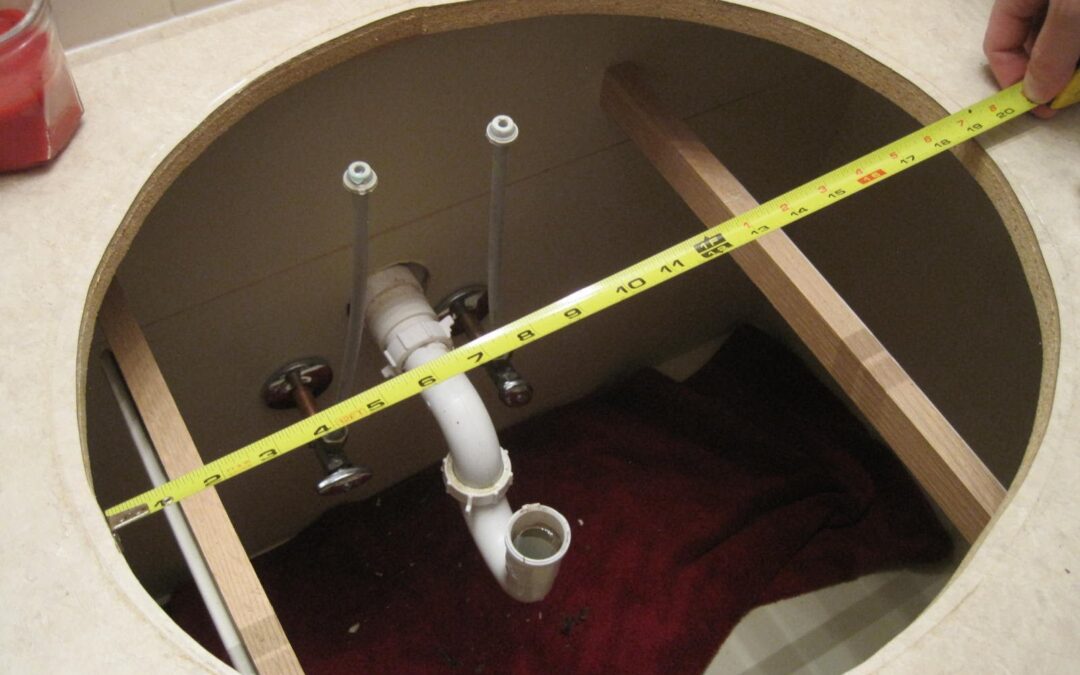
Replacing major elements – or even the sink itself – can be a massive undertaking for the average homeowner.
But if you’re a do-it-yourselfer with the right plumbing knowledge, you can tackle it.
Does the sink need to be replaced?
The elements of your bathroom sink that wear out most frequently are the faucet, drain, or piping. But there are times when you’ll want to replace the basin.
Damaged Basin
Unlike the moving parts of a sink, a damaged basin is nearly impossible to repair effectively. Damage to the sink basin is often a product of a rapid temperature change or physical damage from dropping an object in the sink.
Cracks
Small cracks can also form over time and gradually grow in size. If you observe any cracks, it’s probably time to think about replacing the sink before they get any worse or create more damage.
Stains or Cleaning Damage
Sink basins can get damaged due to careless cleaning practices. This is more frequent in sinks made of unique materials — such as stone — than the average porcelain sink.
Using acidic or abrasive chemicals to clean your sink will inflict damage on natural rocks used. While this damage is near impossible to fix without replacing the sink, investing in a cleaner that won’t damage your sink is always a smart idea.
Remodeling Your Bathroom
Sometimes you just need a change in the bathroom, and the sink is getting old and feels out of date. If you live in an older home, your sink may be functional but have unsightly stains or chipped porcelain in spots.
If a change in the bathroom is on the horizon, why not invest in a better sink and install it yourself?
How to replace your sink
Replacing a sink can be a big job. If you have a fairly standard drop-in or under-mount sink, then the replacement process may be somewhat easier to complete.
However, it is worth noting that any time you end up connecting and disconnecting piping, there is a chance that leaking or flooding may occur. So, if you’re not comfortable with that, you may want to bring in a professional.
If you think you can tackle this, here are some tips:
- Turn off the water supply
It sounds obvious, but…before you begin taking things apart, make sure to turn off the water. Proceed to run the faucet to release any pressurized water left in the pipes. Once this is done, place a bucket beneath the p-trap pipe (the pipe beneath the sink that curves) and remove it. Water may flow into the bucket at this point.
- Loosen the supply lines to the sink
You will need to use a wrench to loosen and disconnect the water supply lines from the sink. Have another bucket ready in the event of a water leak.
- Remove the sink
Now that the pipes are disconnected, it’s time to remove the sink. Be sure to have a utility knife at the ready, as you will need to cut open the sealant at the back of the sink to separate it from the wall.
Once the sealant has been cut, you can simply pull the sink free from the wall. Remove any other parts of the sink from the vanity or countertop base, including the sink top, if it hasn’t already come off.
Now that the old sink has successfully been removed, it’s time to install the new one.
- Connect the faucet and drain
First, connect the faucet and drain to the new sink. Once the faucet and drain have been attached to the sink, proceed to apply silicone adhesive to the rim/backing of the vanity or countertop the sink will be resting in.
- Lay in the new sink
Once the adhesive has been applied, find somebody else to help you set the sink into the countertop/vanity. It is crucial everything is lined up properly when the sink is laid in. Now, wait until the adhesive has cured and sealed the sink.
- Reattach the piping
Once the sink has been attached to the vanity/countertop, reattach all of the piping. You may need to cut the new drainpipe on the sink to a shorter length, so everything fits properly. Make sure all of the water supply pipes and valves have been reconnected properly.
- Caulk the sink
After reconnecting the piping, caulk the sink onto the countertop or vanity. You may need to clean excess caulking.
- Test and adjustment
Finally, you can turn the water back on and make sure everything seems to be running in proper order. This is the right time to make small adjustments, especially with piping connections. Once everything is functioning, your job is done, and you’ve successfully installed a new sink.
Congratulate yourself on a great job!
Need assistance with replacing a sink? Contact the experts at Agentis. We’re ready to help.

